Release Notes (v.2.0 - 15/06/23)
Import Optical CAD (premium license)
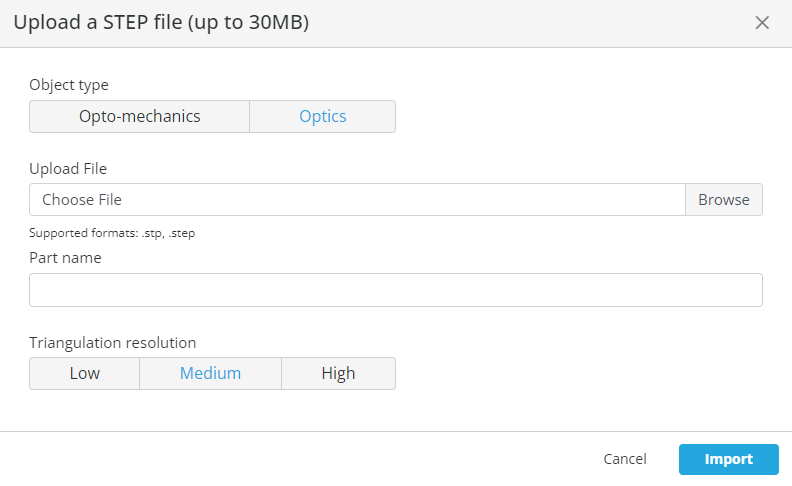
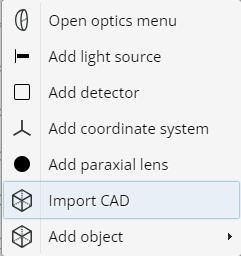
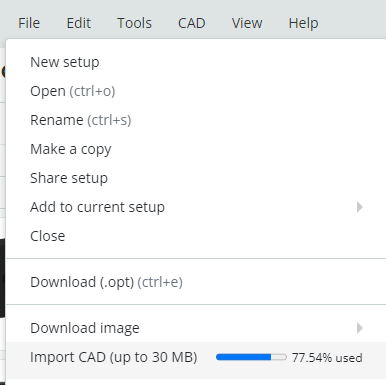
You can now import CAD objects (stp and step formats only at this stage), which have optical functionality, i.e. a material can be applied to the object’s volume. To upload a CAD file (optomechanical or optical): right click>import CAD or: File>import CAD
You will now be prompted to select whether the uploaded file will function as optomechanics or optics. If Optics - triangulation resolution should be selected, the higher it is - the better accuracy is, but your CAD file will have a bigger size.
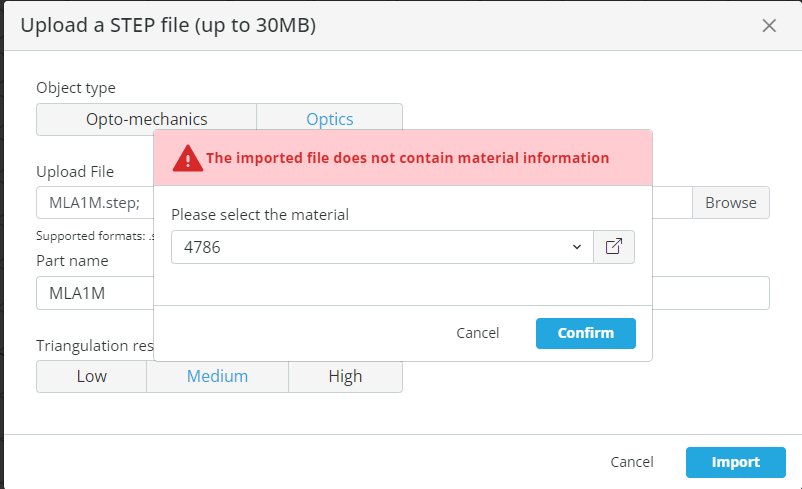
After browsing for the file and clicking the “import” button, the object material should be selected from our materials library (similar to what we present for our library elements). After selecting and clicking “Confirm” the object is uploaded to your setup and will appear in the outliner with the name of its step file. You can change its name and the material in a similar way you do for our library objects
.
Black Box (premium license)
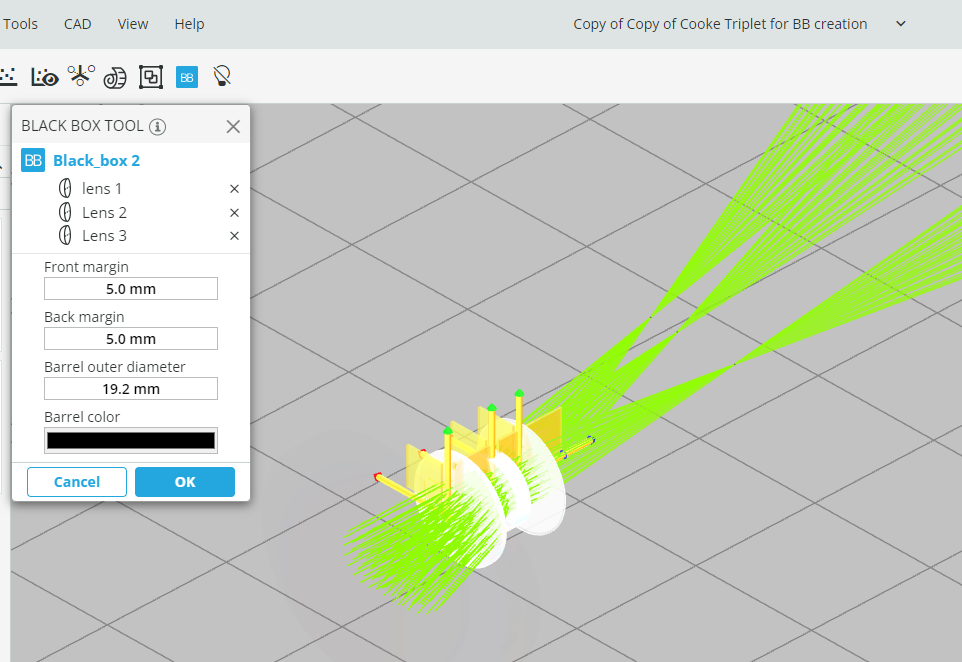
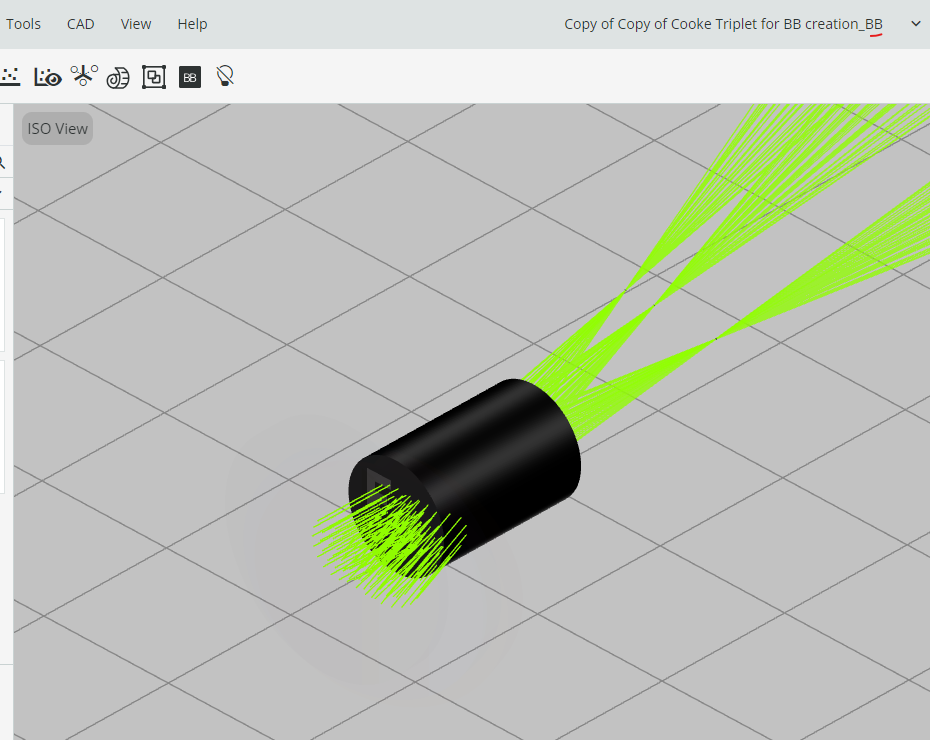
You can create a black box (BB) from your design and share it. BB elements won’t be visible on the layout and outliner and ray tracing within BB will be hidden. No detectors are allowed within BB object
Flow:
Default parameters:
The Black box file will open in a separate tab, while your design in the current tab will stay unchanged. It is not possible to “un-black box” a black box.
Ideal Gaussian Beam Calculator (basic for free license)
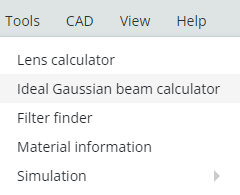
To activate the calculator: Tools>Ideal Gaussian Beam Calculator
The free version calculator allows you to modify waist size and calculate all other parameters, while the advanced license calculator allows controlling every parameter and calculate others
Creating apertures
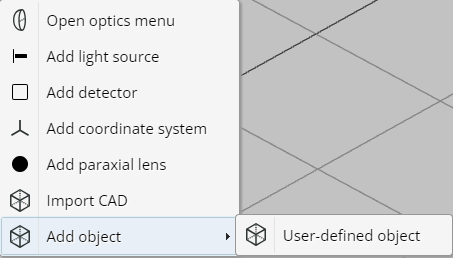
User-defined masks and apertures can now be added to your setup. Right-click>add object>user-defined object
On the next screen, you select whether the aperture will be of amplitude or phase nature and also the aperture real scaling.
Image conditions:
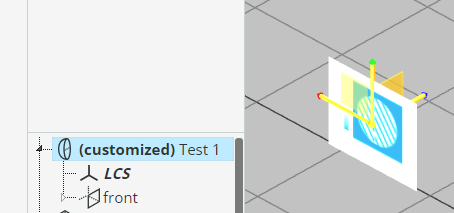
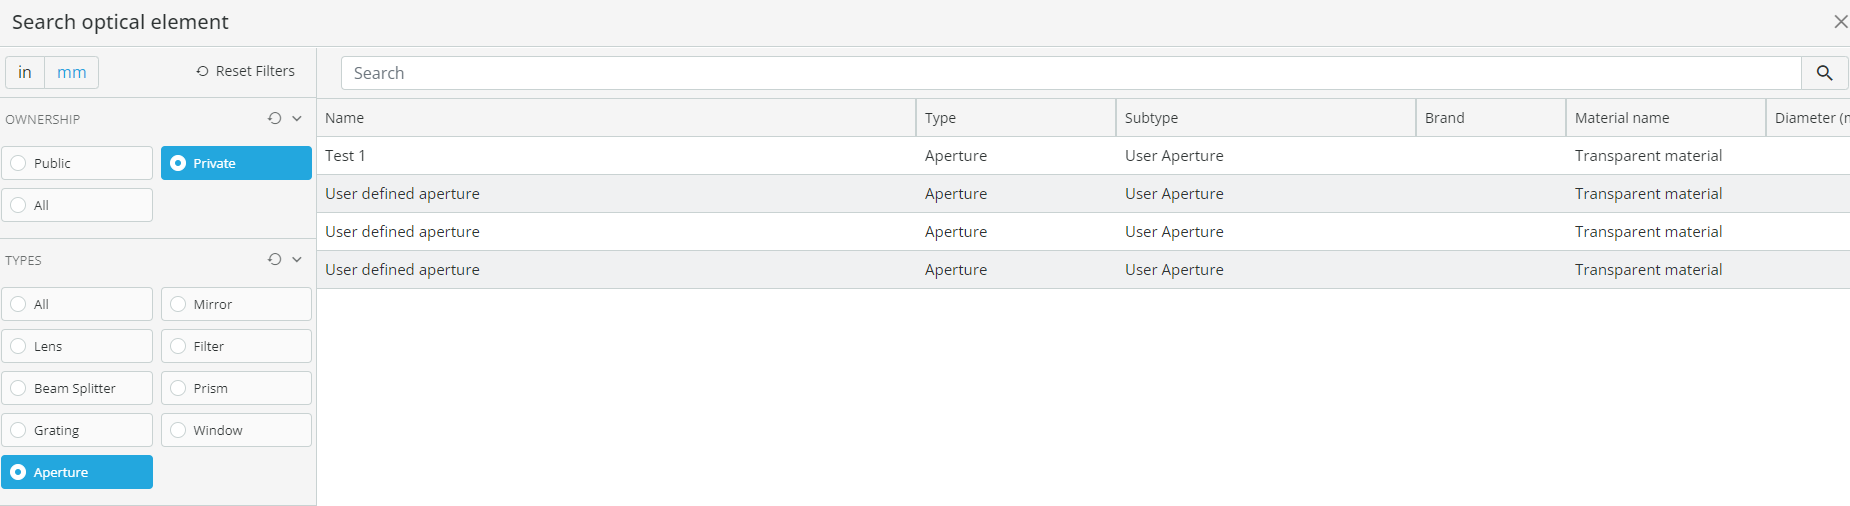
After browsing the file and clicking save, your aperture will be added to the set-up, appear in the outliner, and be added to the private section of your library, under type: apertures, so it can be later used for your other setups, without uploading the file again